Tactile installation inspection: pattern, orientation and attachment
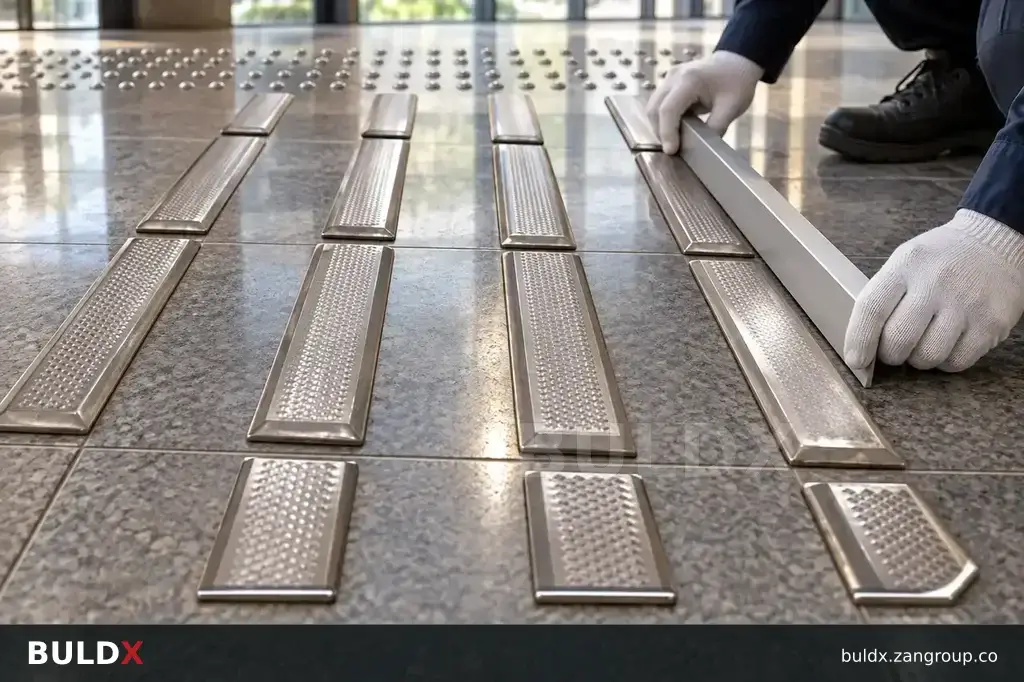
Inspect tactile installation against the approved plan, not just the product delivery label. The right component can still be installed in the wrong orientation or location.
Selection considerations
Check directional alignment, warning-zone locations and route continuity. Verify that obstacles and door movements have not changed since the layout was approved. Use the applicable project requirements to review spacing and finished geometry.
Inspect attachment and edges on the actual floor. Record each location with the installed BULDX code and any outstanding issues. Resolve discrepancies before opening the route, then retain the final layout for future repairs. This preserves both product identity and the intended wayfinding arrangement.
Before you specify or order
- Compare installation with the approved plan
- Verify pattern orientation
- Record final locations and product codes
Relevant BULDX catalogue examples
These records illustrate the product types discussed. Compare the full specifications before selecting; listing here does not establish project suitability or make the items interchangeable.
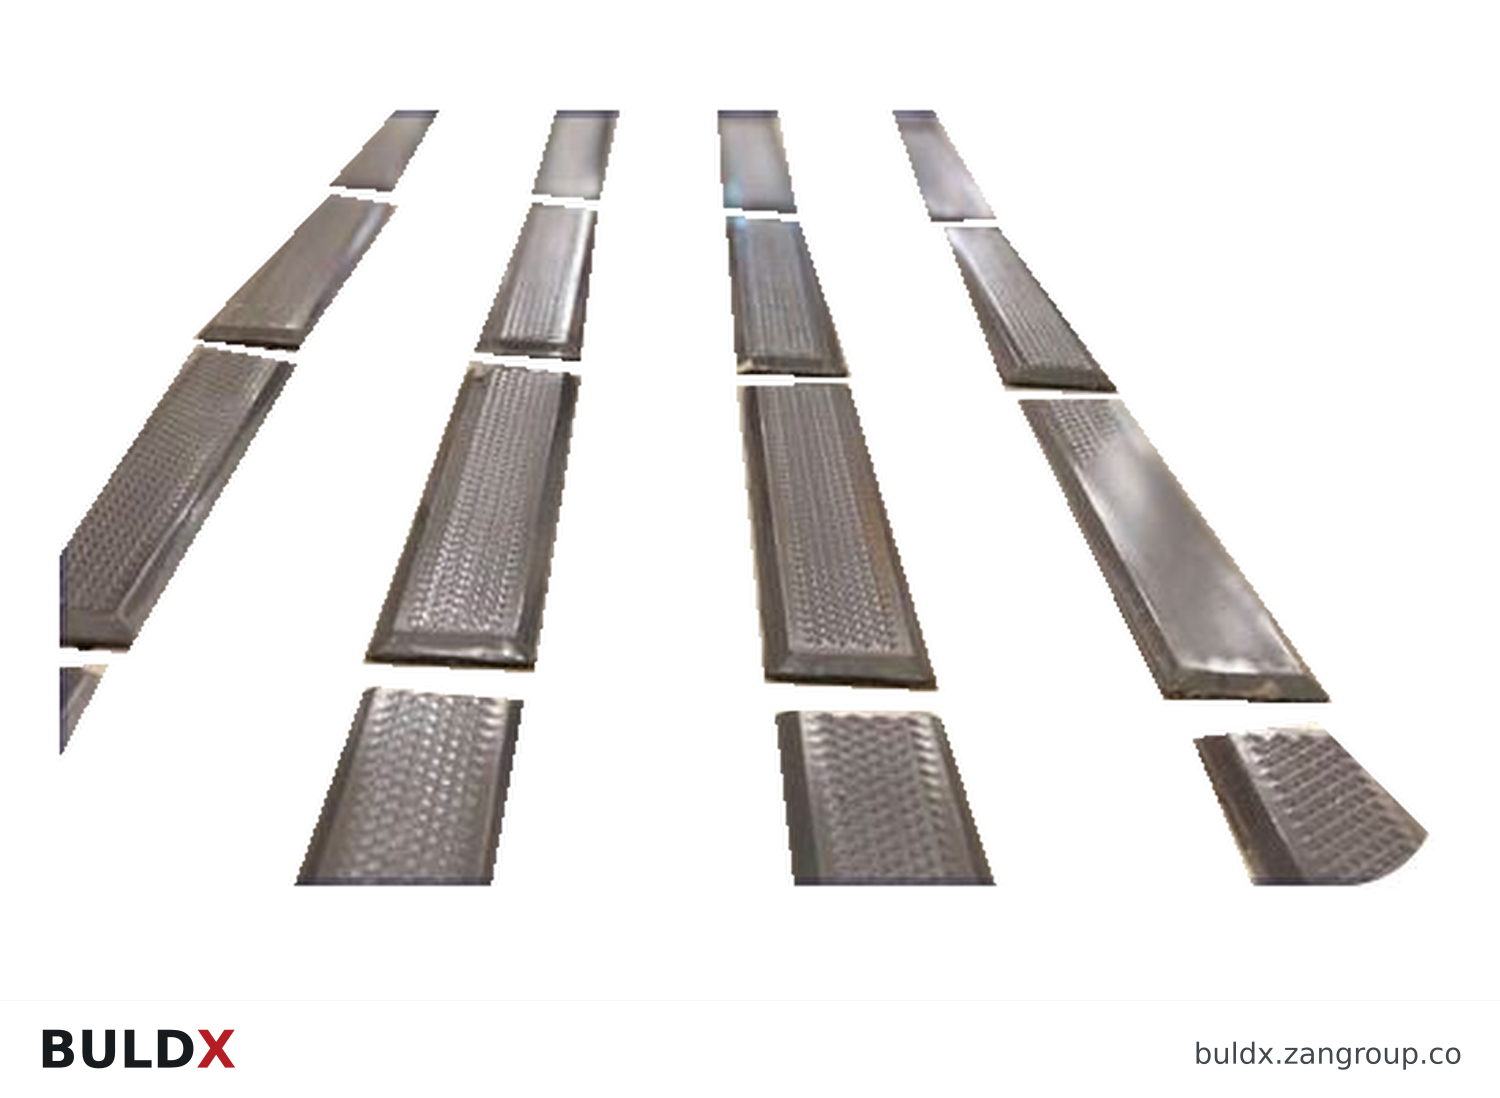
BDX-TS-DIR · Product geometry from the catalogue; a family illustration may be shared by variants. Consult the selected technical documents for dimensions and the approved fixing detail.| Product and code | Selected catalogue fields |
|---|---|
BDX-TS-DIRDirectional Tactile SurfaceTactile Surfaces |
|
BDX-TS-WRNWarning Tactile SurfaceTactile Surfaces |
|
Common question
Is correct product delivery enough for acceptance?
No. The installed orientation, location, attachment and route continuity also need checking.
References and scope
Product fields are from the BULDX catalogue. Confirm the current selected drawing, supporting performance documents and approved project detail before ordering. External references, where listed, provide background guidance and do not certify these products.