Planning tactile routes across doors and decision points
A tactile route needs continuity and a clear relationship to destinations and decision points. Choosing a tactile product is only one step in that layout.
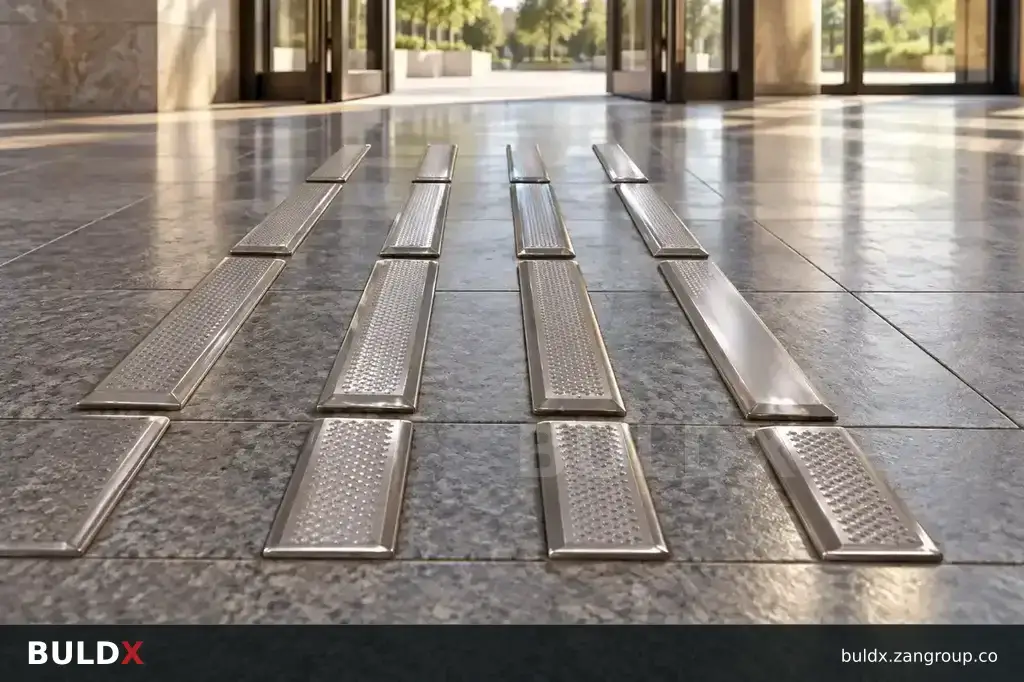
Selection considerations
Map entrances, doors, stairs, lifts and other relevant route features with the accessibility designer. Show where the route changes direction or meets a warning zone. Avoid treating every material change as a reason to introduce another tactile pattern.
Coordinate furniture, signs and doors so they do not obstruct the intended path. Use the selected BULDX code against each pattern type on the plan. If the floor layout changes during construction, review the route as a whole rather than adding isolated patches without checking their meaning.
Before you specify or order
- Map destinations and decision points
- Coordinate doors and furniture
- Review the route after layout changes
Relevant BULDX catalogue examples
These records illustrate the product types discussed. Compare the full specifications before selecting; listing here does not establish project suitability or make the items interchangeable.
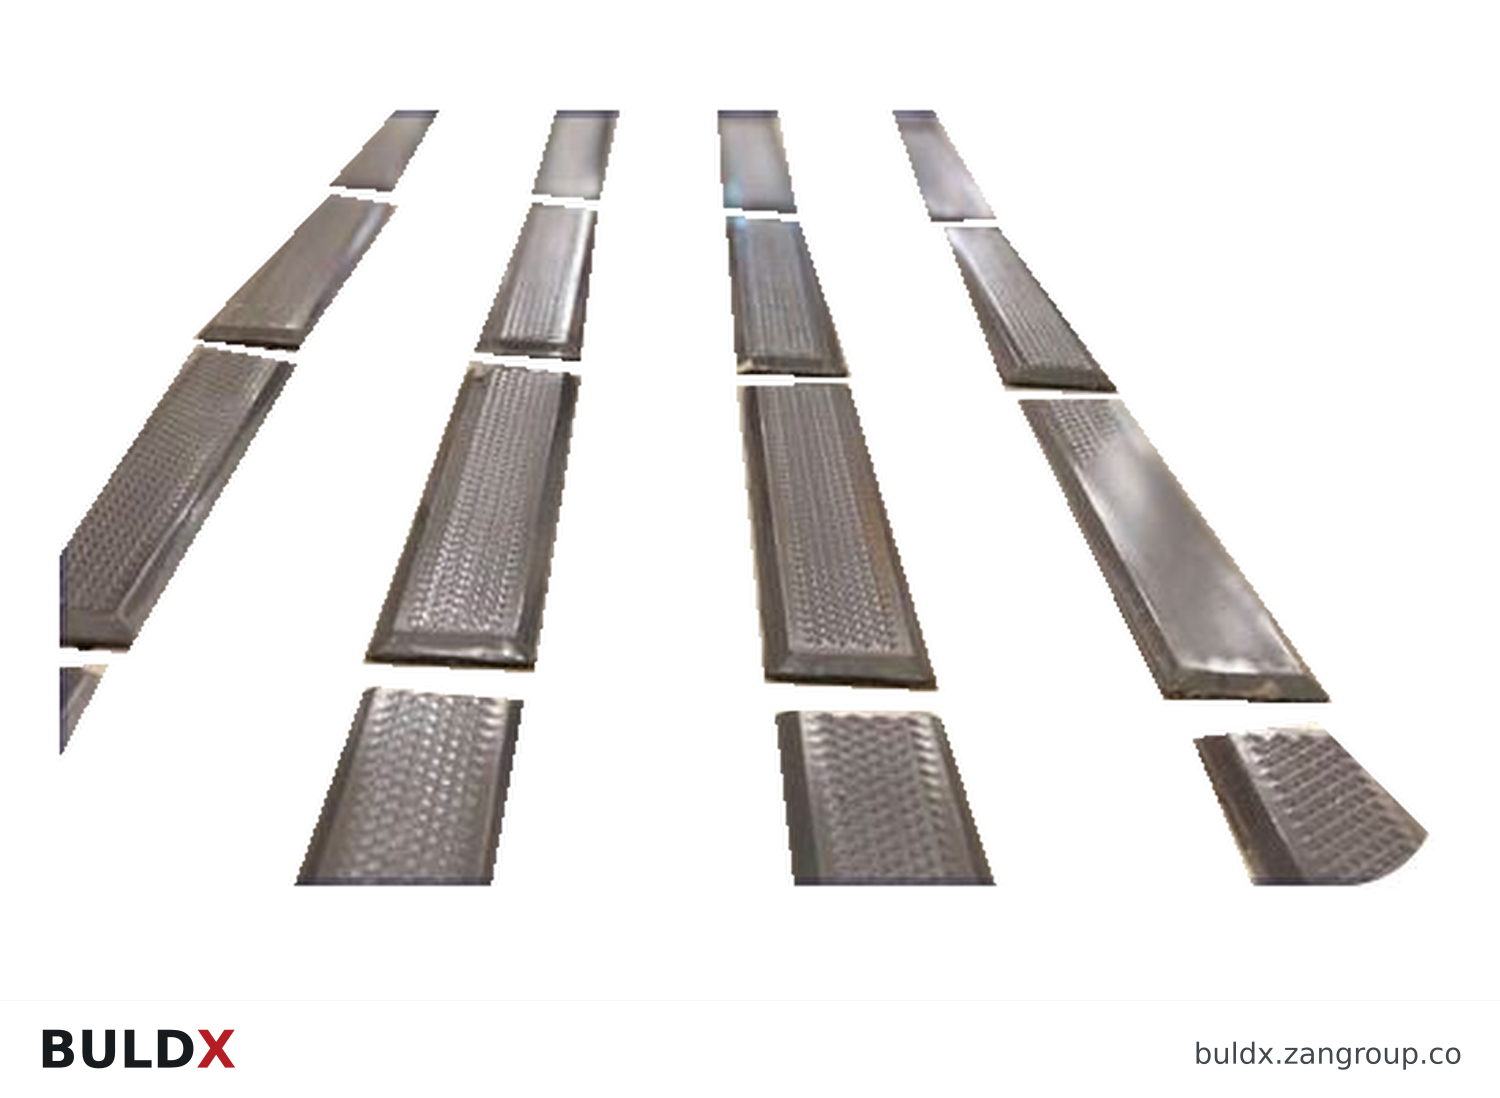
BDX-TS-DIR · Product geometry from the catalogue; a family illustration may be shared by variants. Consult the selected technical documents for dimensions and the approved fixing detail.| Product and code | Selected catalogue fields |
|---|---|
BDX-TS-DIRDirectional Tactile SurfaceTactile Surfaces |
|
BDX-TS-WRNWarning Tactile SurfaceTactile Surfaces |
|
Common question
Can installers decide the tactile route from product shapes?
No. They should follow an approved layout with clearly identified pattern locations.
References and scope
Product fields are from the BULDX catalogue. Confirm the current selected drawing, supporting performance documents and approved project detail before ordering. External references, where listed, provide background guidance and do not certify these products.